Wednesday, December 27, 2023

Warlocks 2-5

 So first off, yes I am still alive. I recently got some stuff cleared off the table so I could paint again, but I will likely have to replace some of my paints eventually that are... less than liquid.

Secondly, here is the sorceress from the old box set that I decided was an amethyst wizard.


I'm pretty rusty and the eyes show it if nothing else, but it's tabletop acceptable IMO. I did try to work on shading and highlighting a bit other than just dousing it in a wash.

Next up are some minis from the set that I had painted at various times in the past: We have the blue wizard, a chaos sorcerer, and a jade wizard/druid.


I am borderline embarrassed by the chaos wiz. He's so cartoony. I painted him up originally as part of a diorama (hence the different base). The blue wizard was also a very early mini in my painting journey. The jade/druid was almost 10 years ago but he was done when I was painting more regularly, so he's a little better. (I actually used him as a sample mini in a series of short videos about getting a mini done for tabletop). 

There are still 3 of these warlocks to go: the Gold, the Fire, and the Light wizards. Since i have some time off for the holidays, we'll see if I can get any more done. 

Friday, January 27, 2023

Warlock #1: Amber Wizard


One down, anyway.

It was fun and frustrating to work with such an old and, dare I say, crude sculpt? Some of the divisions between sections of the mini were a little undefined, but I did what I could. You can see on the back that the pelt/cloak lacked enough definition in parts to hold the darker wash, but that's OK. Overall, I'm happy with the result. He needs sealing, but January is not the best month for outdoor spray paints.

Tuesday, January 17, 2023

Ending a hiatus (Wait. I have a blog?!)

I doubt too many people check this space any more, but it's as good a spot as any for what I'm doing. After a few years of letting my painting supplies gather dust, I finally cleaned things up and started trying to paint again. You would have thought lockdown during The-Year-That-Shall-Not-Be-Named would have been the perfect time for painting and scenery projects, but the lack in in-person gaming sort of stole my motivation. Anyway, that's my excuse and I am sticking to it!

So what is this new project? Well, in a word, it's Mordheim.


I have been fascinated by this game since I got back into WFRP (2nd edition). I've never been a big wargamer, but the skirmish levels, the campaign mode, and the setting flavor is just awesome. Not to mention the inspirational scenery and terrain builds online. Games Workshop stopped supporting the game about 7 years ago or so, but the fan base is still very much alive. You can even get a free copy of the rules over on broheim.net, including supplemental materials like alternate warbands.

I won't go into a review of the game, There are far more knowledgeable folks than myself online who have done that. But the Old World has a special place in my heart, so this seemed a great way to jump back into painting and terrain. 

The project I plan to record here is sort of silly. You see, the various warbands can sometimes -if they've been successful enough in making money- hire models to bolster their ranks. Some of these are just normal troops, but some are special "characters," including mages for hire called Warlocks.

Now, it just so happens that I have had a an old sprue of Citadel miniatures from the mid 90s called simply "Wizards." (FT-03) It contains eight plastic figures designed as Old World spell casters.


I found a page online that identifies the individual figures as: 

Back Row:
Shaman
Chaos Sorcerer 
Fire Wizard 
High Priest 

Front Row:
Astronomer 
Alchemist 
Druid 
Sorceress 

Now to use Warhammer terminology, the "Shaman" would be an Amber Wizard, the "Astronomer" a Blue, an "alchemist" would be a Gold Wizard, a "Fire" mage is known as a Bright Wizard, and the "Druid" a Jade Wizard. The Sorceress' skull motif could make an argument for an Amethyst (Death) wizard or a Necromancer. The "High Priest" looks vaguely Egyptian/Tomb Kings-ish, but perhaps there is another cult that fits the bill. EDIT: Consulting with the nerdosphere, I think an argument can be made that he is a Light Wizard ("White College") which uses the wind Hysh. They are known to use a snake motif sometimes ("The Serpent of Light"). So that's good enough for me!

And the chaos sorcerer looks like just that. 

I had already painted the Blue, Chaos, and Jade figures years ago (and it shows). I even made a short series of videos showing me painting the "Druid." but the other five lay there, still on the sprues, untouched for all this time. So for fun, I am cleaning them up and getting them ready to paint as potential warlocks for hire. The old GW sculpts are crude by today's standards, but like the Heroquest orcs, they have a charm to them I really enjoy. 

So far, the five have had their mold lines cleaned up and put on bases. I've also added a little gravel to the bases for texture. Then, since we had an unseasonably warm day, I sprayed the with gray primer. Here's where they stand now:

Gold Wizard


Amber Wizard


Light Wizard


Bright Wizard


Sorceress

The next steps will be applying paint to brush. I want to do them in old-school color schemes, but still make them fit Mordheim's aesthetic and hopefully with better technique than I had twenty years ago. I'm a bit out of practice, and my eyes aren't as sharp as they were, but I'll do what I can. 


Sunday, July 15, 2018

Minor update on the Table

The dice trays looked great, but the attachment method I used wasn't that strong; small wood screws from underneath that only went partway into the top sheet of plywood. One of them popped loose with only slight pressure. So I got some brass "furniture connectors" and hex nuts. The tops of the connectors are visible on the table's surface, but look pretty nice, actually.


NOW I think I am done!

Thursday, July 12, 2018

Table: Final Assembly!

(warning: image heavy!)

While technically not 100% done, the pieces are all in place. I just need to fine tune the cable management under the table and screw down the top panel.

First off, I attached the legs to the base:

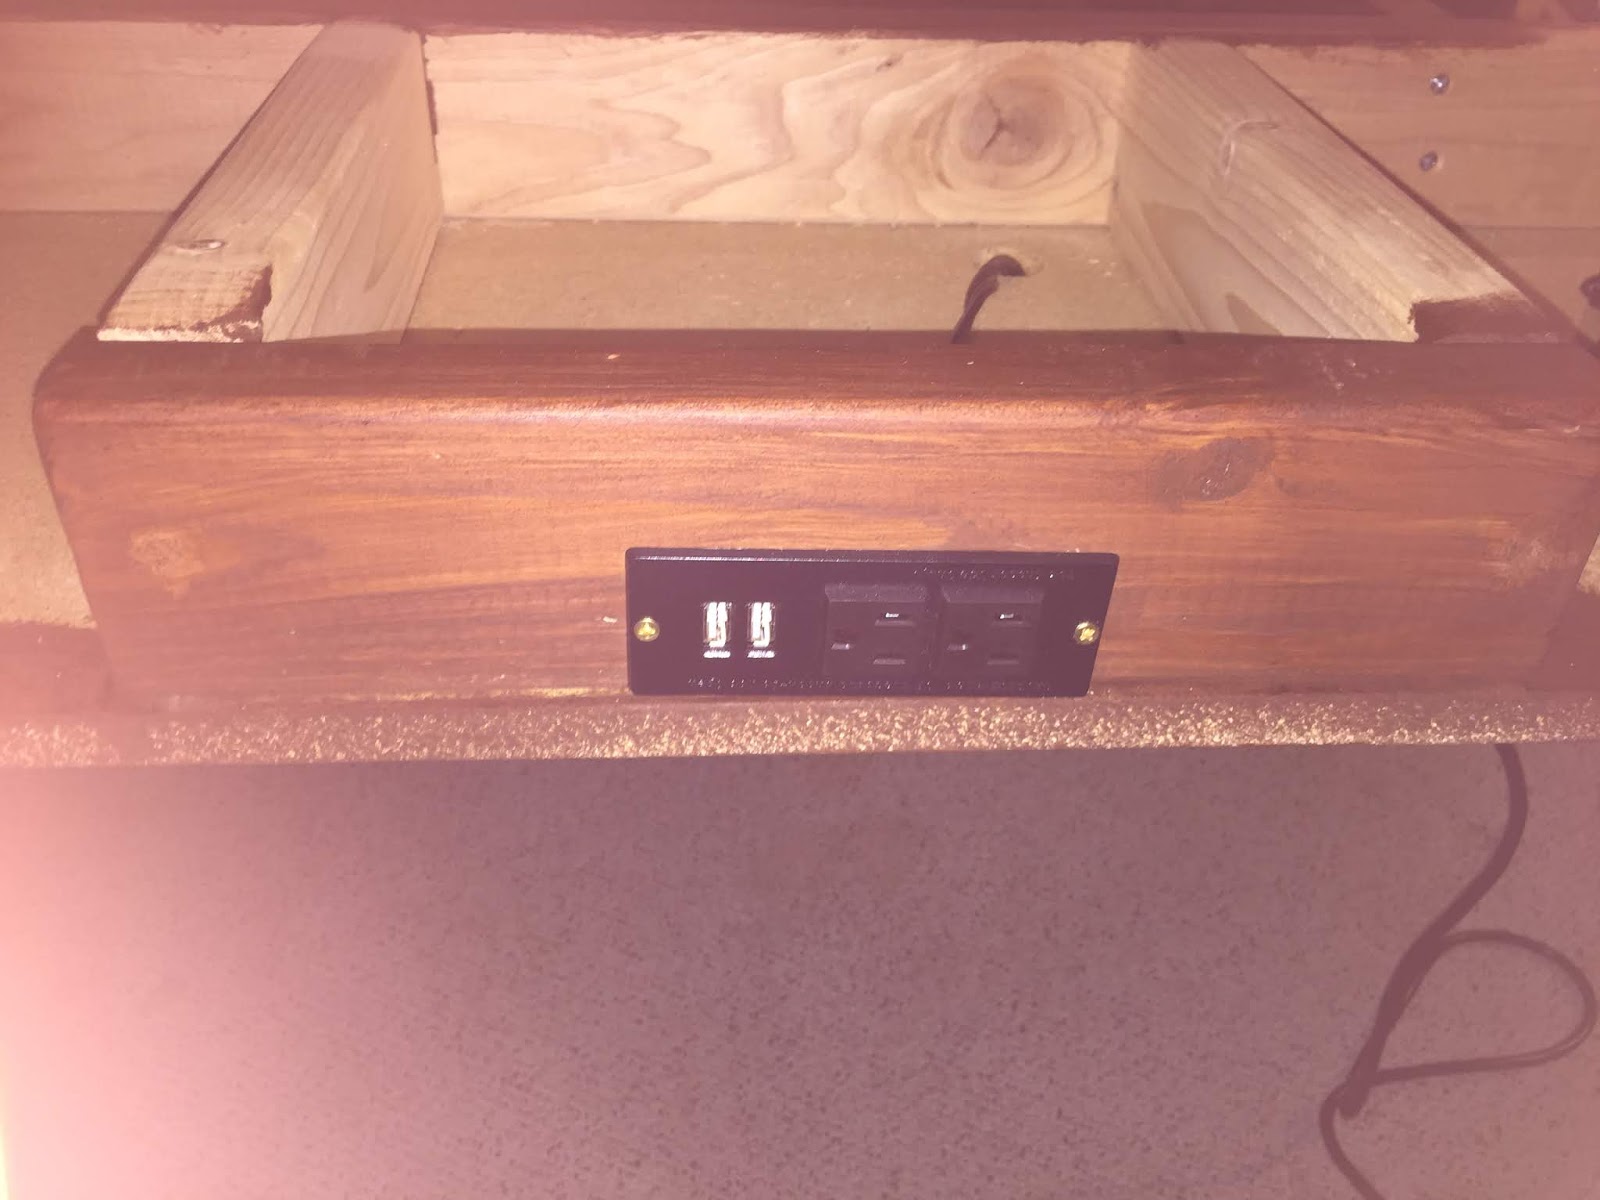
Next up, I put in the outlets, Chromebox, and the TV screen:


The screen had to be raised up a little in the frame, but that wasn't too hard to do. I just used some piece of spare wood as blocks under the TV. I was disconcerted to find that the frame that's holding the screen is slightly off level (not sure how/when that happened) but the screen itself is flat.

The audio speakers are just held face up via a quick & dirty cardboard frame that steadies them in that position. I didn't want to fasten them down permanently in case they needed troubleshooting or replacing.

Once the outlet plates were screwed in, I installed the power strip on the underside of the base and plugged stuff in. When I was sure all the plugs worked, I fired up the TV and Chromebox for a test.


I swear I "dry-fitted" the wood panel that covers the screen opening, but it didn't want to drop in all the way. So a little sanding of the edges later and it was passable. I'll need to re-stain those parts, though.


You can see the grills I installed above the speakers. They are just cosmetic. I'm using the speakers down at the DM end of the table instead of the TV's audio so that the output is far enough from the far end's microphone so as to avoid feedback. 

Finally I placed the top panel on. I also re-cut the old sheet of Plexiglas from the tabletop frame to size. It's not perfect, but it fits. It cracked at the corners when I screwed it down (even with starter holes), so I may end up replacing it. Cupholders were dropped into place and you can see what the final product looks like. 


(the little 'dot' in front of the TV panel is the microphone)

Lessons learned:

The main thing is that I am not a master builder! There are a half dozen or so small-to-large errors in the construction that bug me. Most are minor cosmetics and/or fixable, but I'm sure they could have been avoided with more care or skill. There are things like minor gaps or poor fits or edges that are not quite true that irk me. I tend to get overenthusiastic about projects and rush things.

One thing I plan to change is that the table seems a little low. It is usable, but I am going to get some large casters for the table legs to make it easier to move and raise it up an inch or so. On paper the dimension seemed ample, but looking at it assembled, I worry it may be a little small. Of course, that's why I added the "cubbies" for people's books, to save tabletop space. Another is that the magnets that are supposed to secure the panel that covers the Chromebox. It's okay the way it is, but not as stable as I hoped. I think I just need to use slightly bigger magnets.

Once the top is screwed in place, I'm going to test the Roll20 maps and maybe have someone log in remotely while someone else sits at the table with me. We'll try out the sound pickup and the whole virtual tabletop/face to face hybrid gaming and see if that works as well as I think it should.

There are a few things in the gaming area of the basement that are non-table related that still need to get dealt with before people can come over and really game, but it's highly satisfying to have this done(ish), warts and all.

Wednesday, July 4, 2018

Table WIP: Dice Trays

I've put the padded foam on the bottoms of the dice trays and screwed them onto the table top. They look very nice and work perfectly.


With the cup holders above the tray, all I can think of is Mickey Mouse.

Sunday, July 1, 2018

Table WIP: Home Stretch

All the staining is done. I also put two coats of clear polyurethane on the tabletop and panels. At this point, once the basement is clear, I can take the pieces down and start final assembly.